
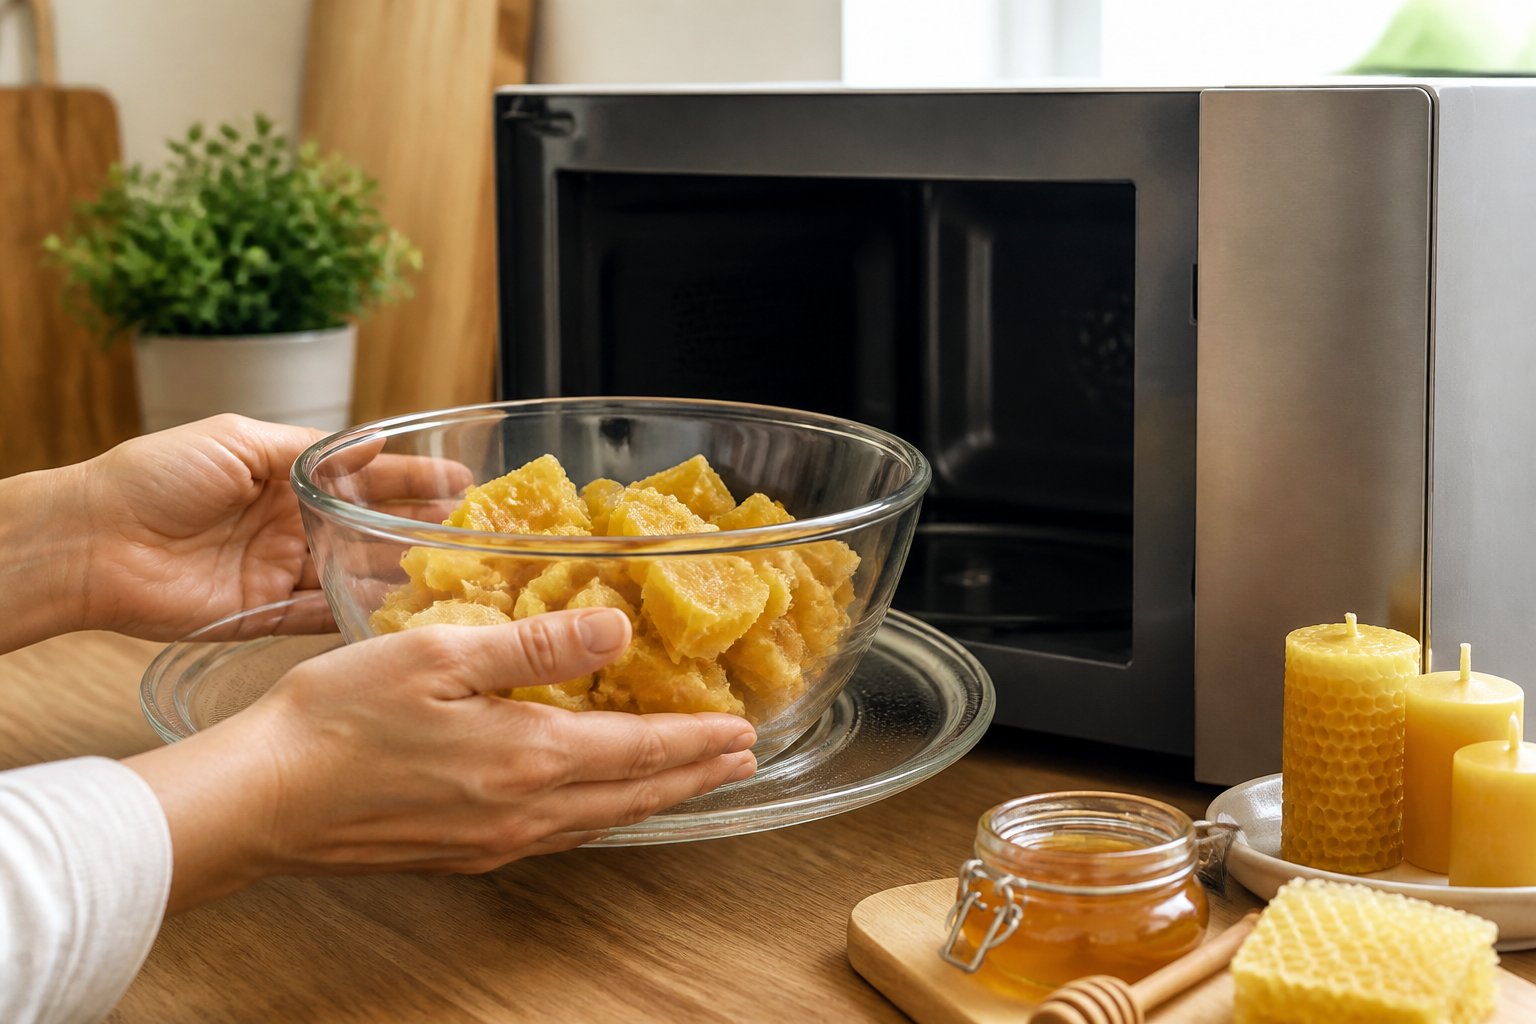
You can melt beeswax in the microwave, and it can work well for small batches if you use low power, short bursts, and a microwave-safe container. The safest approach is to treat beeswax like a fragile material, because it heats unevenly and can go from solid to dangerously hot fast.

If you are working on candles, balm, or another craft project, the microwave can save time when you know how to melt beeswax safely. The key is to keep the wax chopped into small pieces, heat it gently, and stop as soon as it is mostly liquid, not bubbling.
Short Answer And What To Know First
When A Microwave Is Acceptable
You can use a microwave when you are melting a small amount of beeswax for a quick project, especially if you are using a glass or ceramic container and watching it closely. A guide from Chef’s Resource also notes that careful technique and safety steps are essential.
Why Beeswax Needs Extra Caution
Beeswax does not melt as predictably as water or chocolate. It can heat unevenly, hold hot spots, and scorch if you rush it, which is why people who have tried to melt beeswax in the microwave too aggressively often end up with clumps, discoloration, or a burnt smell.
The Temperature Range That Matters
Beeswax starts melting at a relatively low temperature, but you still want to avoid pushing it too far. A practical working range is just above the melting point, since overheating raises the risk of smoking, scorching, or ignition.
How To Melt Beeswax Safely In A Microwave
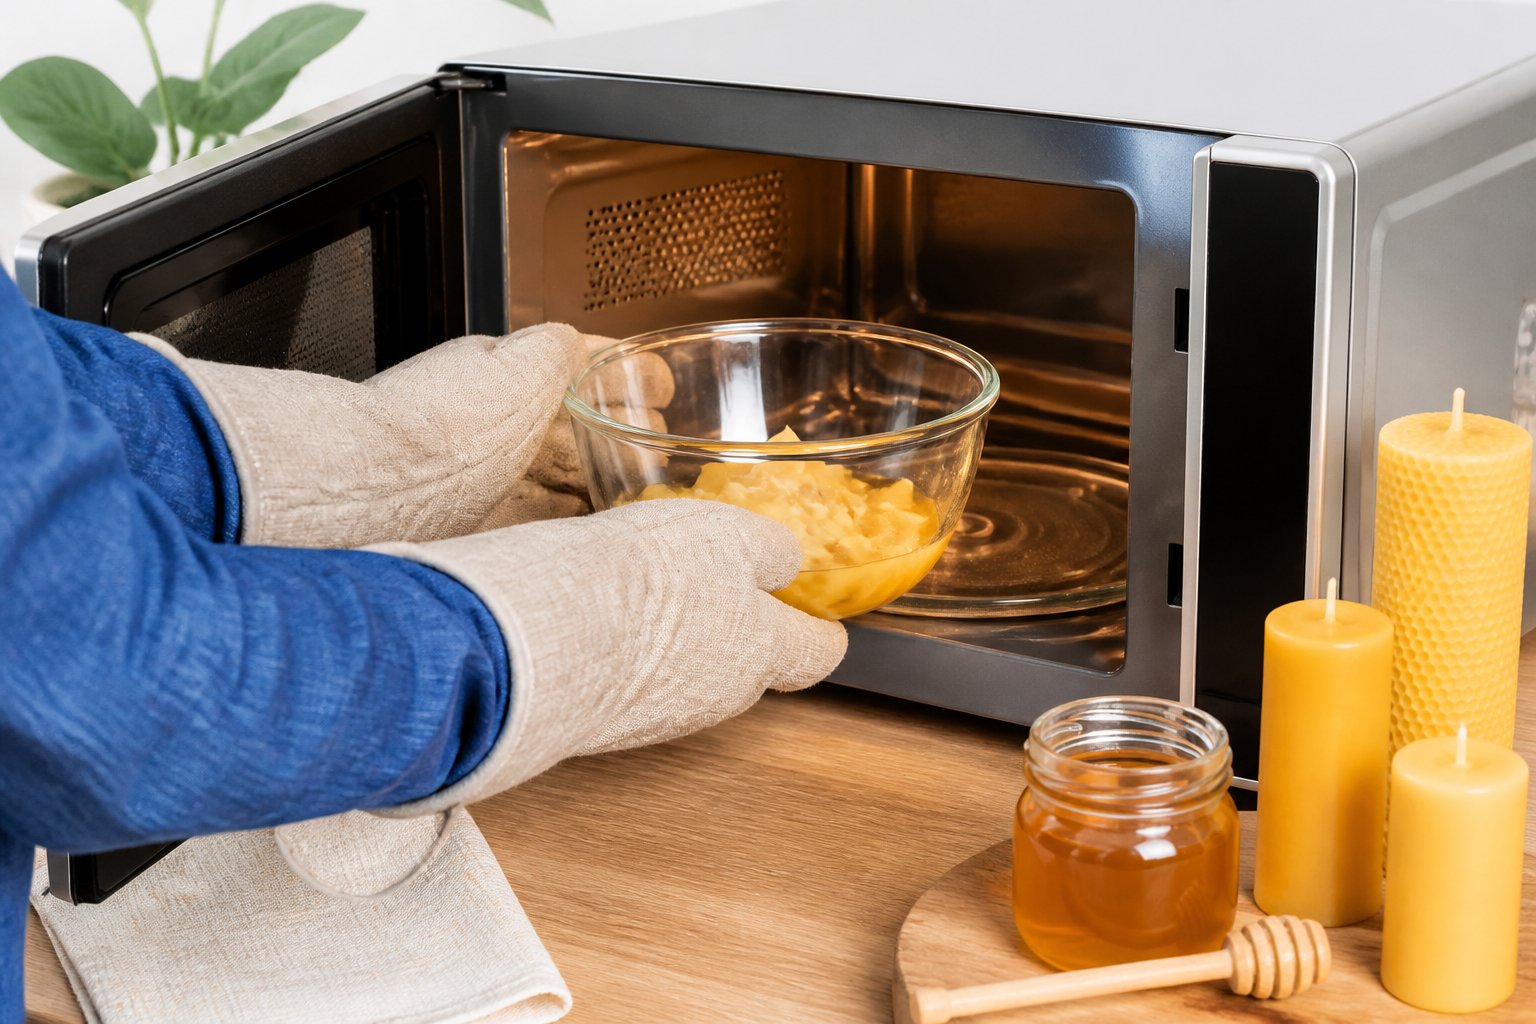
A smooth result depends on control, not speed. The safest approach is to use the right container, heat in very short bursts, and stir often so the wax melts evenly.
Best Containers And Tools To Use
Use a microwave-safe glass bowl or ceramic container with enough headroom for the wax to shift as it softens. A spoon, silicone spatula, oven mitts, and a dry towel make the process easier and safer.
Low-Power Heating In Short Bursts
Set the microwave to low power and heat the wax for short intervals, such as 20 to 30 seconds at a time. The Kitchen Pearls method emphasizes low power and repeated short heating to avoid burning the wax.
How To Stir And Check Progress
Remove the bowl carefully after each burst and stir the edges toward the center. Even when the wax still looks partly solid, the retained heat keeps it moving, so you can stop before it turns fully liquid.
Mistakes That Cause Scorching Or Fire Risk
Do not use a metal container, do not walk away, and do not crank the power up to speed things along. Overfilling the bowl, heating too long, or microwaving wax that contains debris or moisture can create splatter, smoke, or hot spots.
When To Use Another Method Instead

For bigger projects or when you need more even heat, another method is often the better choice. A double boiler gives you more control, especially when your wax volume rises or your recipe includes other ingredients.
Why A Double Boiler Is Often Safer
A double boiler warms the wax gently through indirect heat, which lowers the chance of scorching. That steady heat is useful when you want a more forgiving setup than the microwave.
Best Option For Larger Batches
If you are melting several cups of wax, the microwave becomes less practical. Larger batches take longer to heat evenly, and the outside can overheat before the center softens.
Choosing The Right Method For Natural Candles
For natural candles, the method should match the batch size and the finish you want. If you are making natural candles, a double boiler or slow, indirect heat usually gives you more reliable results than repeated microwave bursts.
Handling, Reusing, And Storing Melted Wax

Once the wax is melted, your next steps matter just as much as the heating process. Clean handling keeps the wax usable, and proper storage helps it stay ready for your next project.
How To Cool It Without A Mess
Let the wax cool in its container on a stable, heat-safe surface. Keep it away from drafts and do not move it until the edges begin to firm up, since sloshing can create drips and uneven surfaces.
How To Reuse Melted Beeswax
You can reuse melted beeswax for candle pouring, balm bases, small molds, or craft seals after it has been filtered and cooled. If it picked up crumbs or wick fragments, strain it through fine mesh or cheesecloth before you reuse melted beeswax.
Best Practices For Storing Melted Beeswax
For storing melted beeswax, let it harden fully, then keep it in a clean, covered container away from heat and direct sun. Label the container with the date and any added ingredients so you know exactly what you have for the next project.


